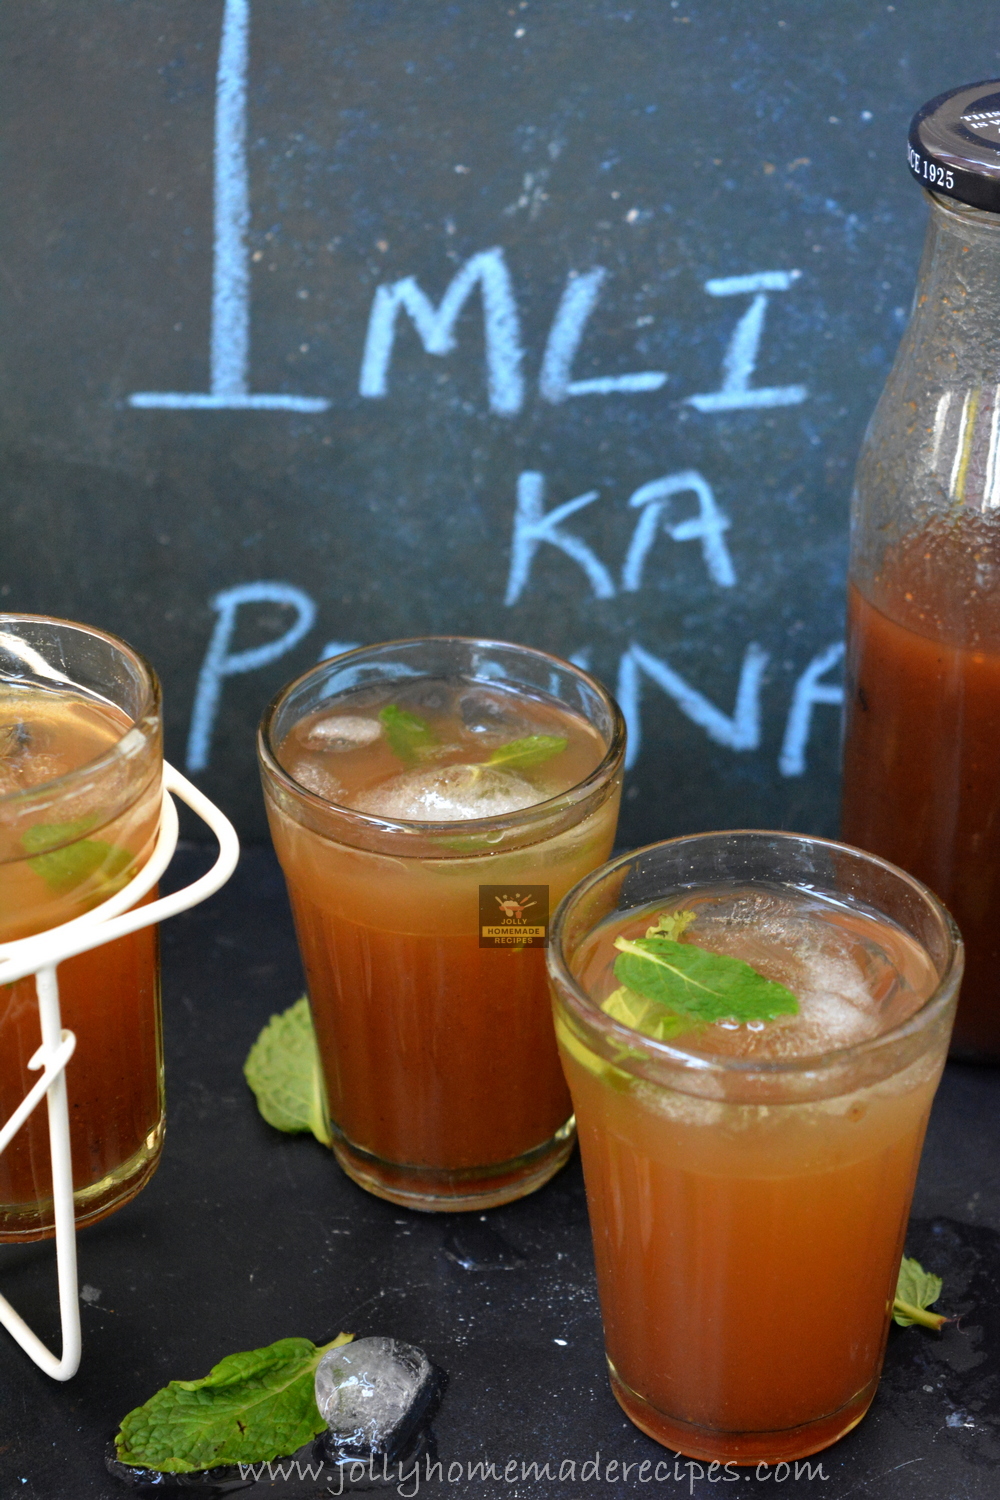
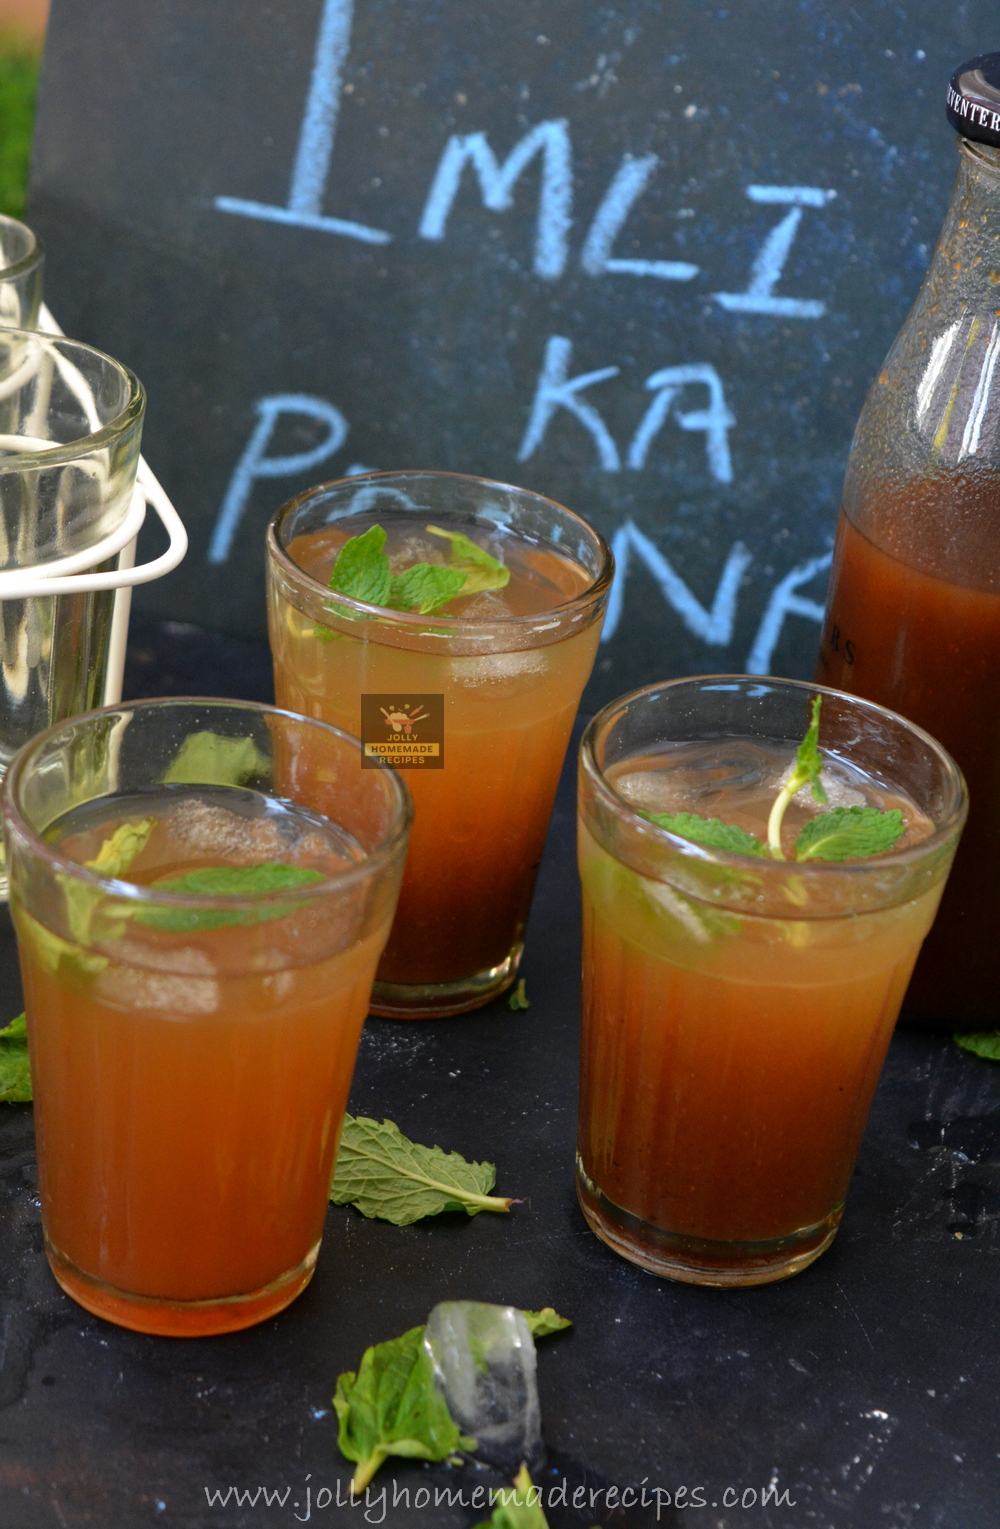
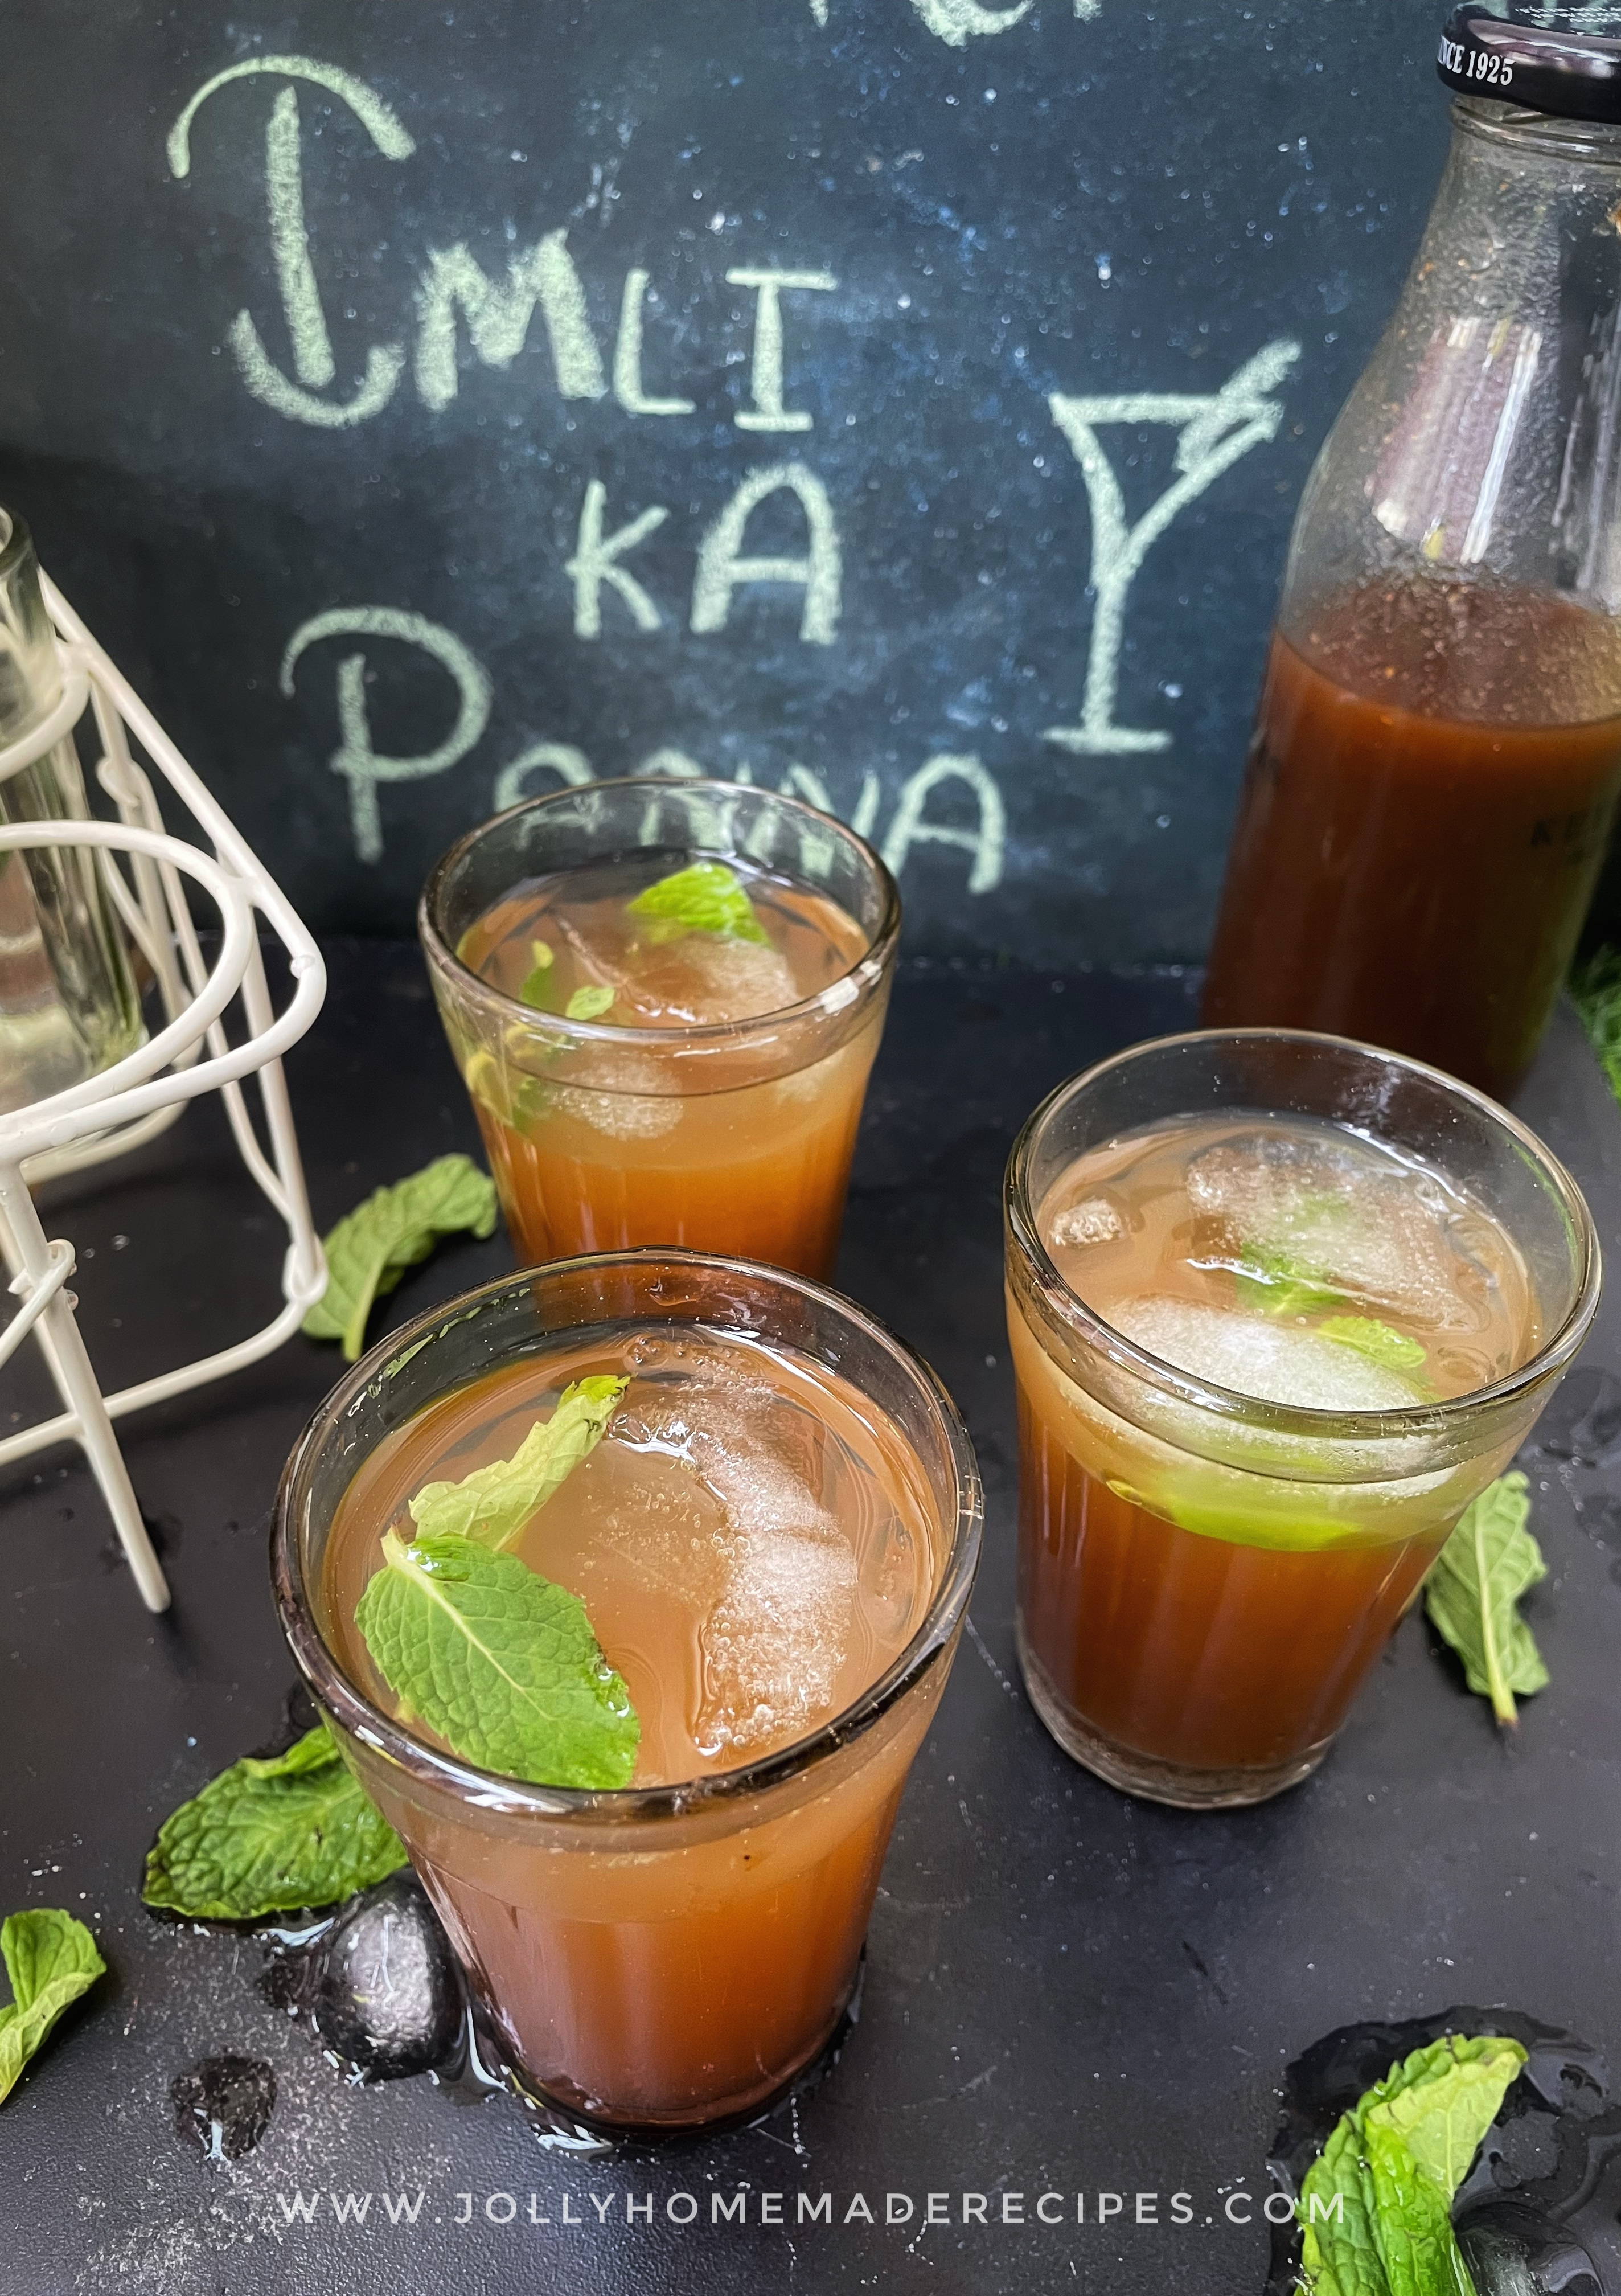
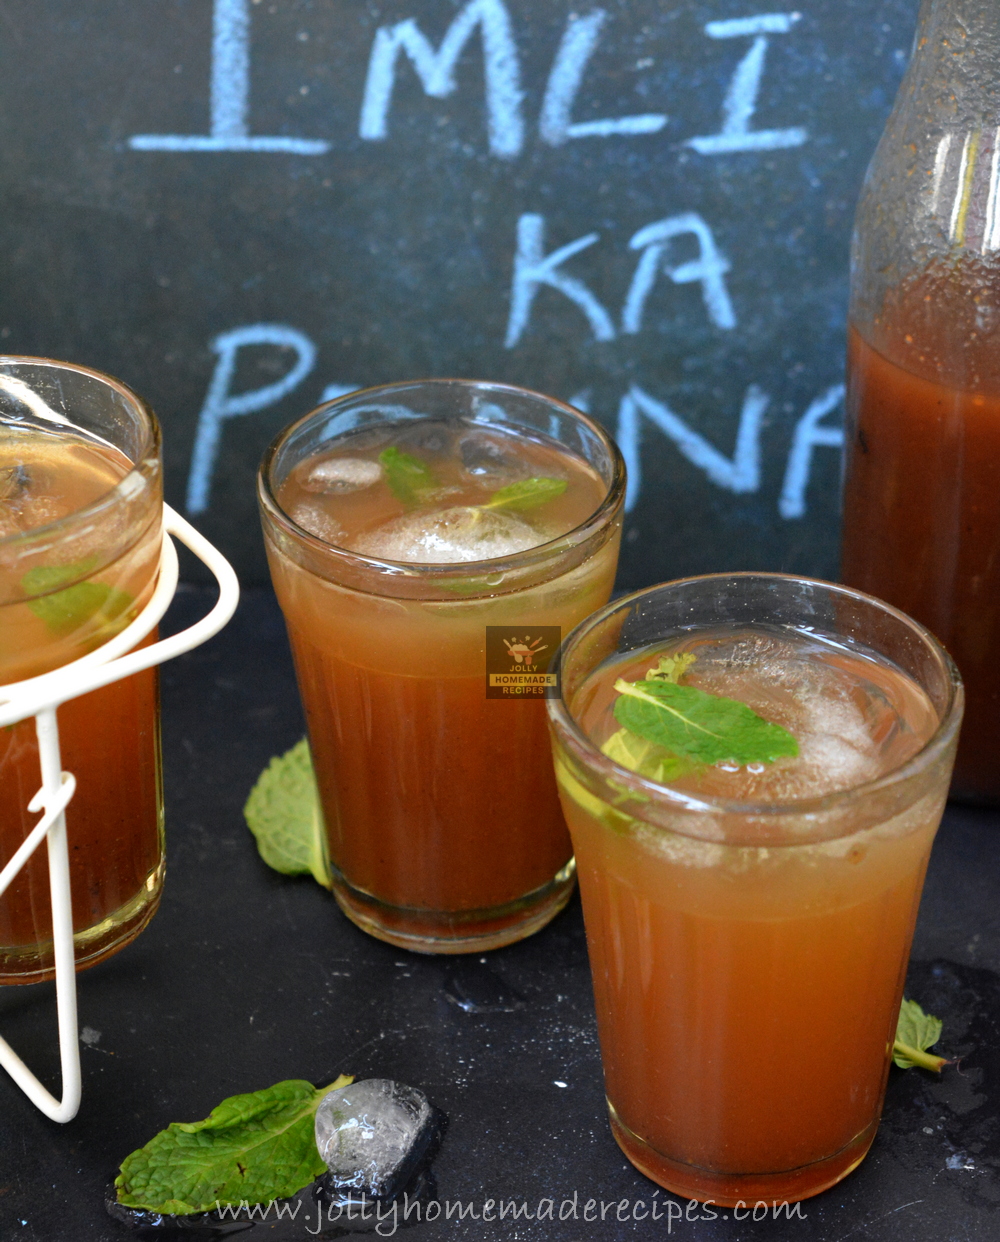
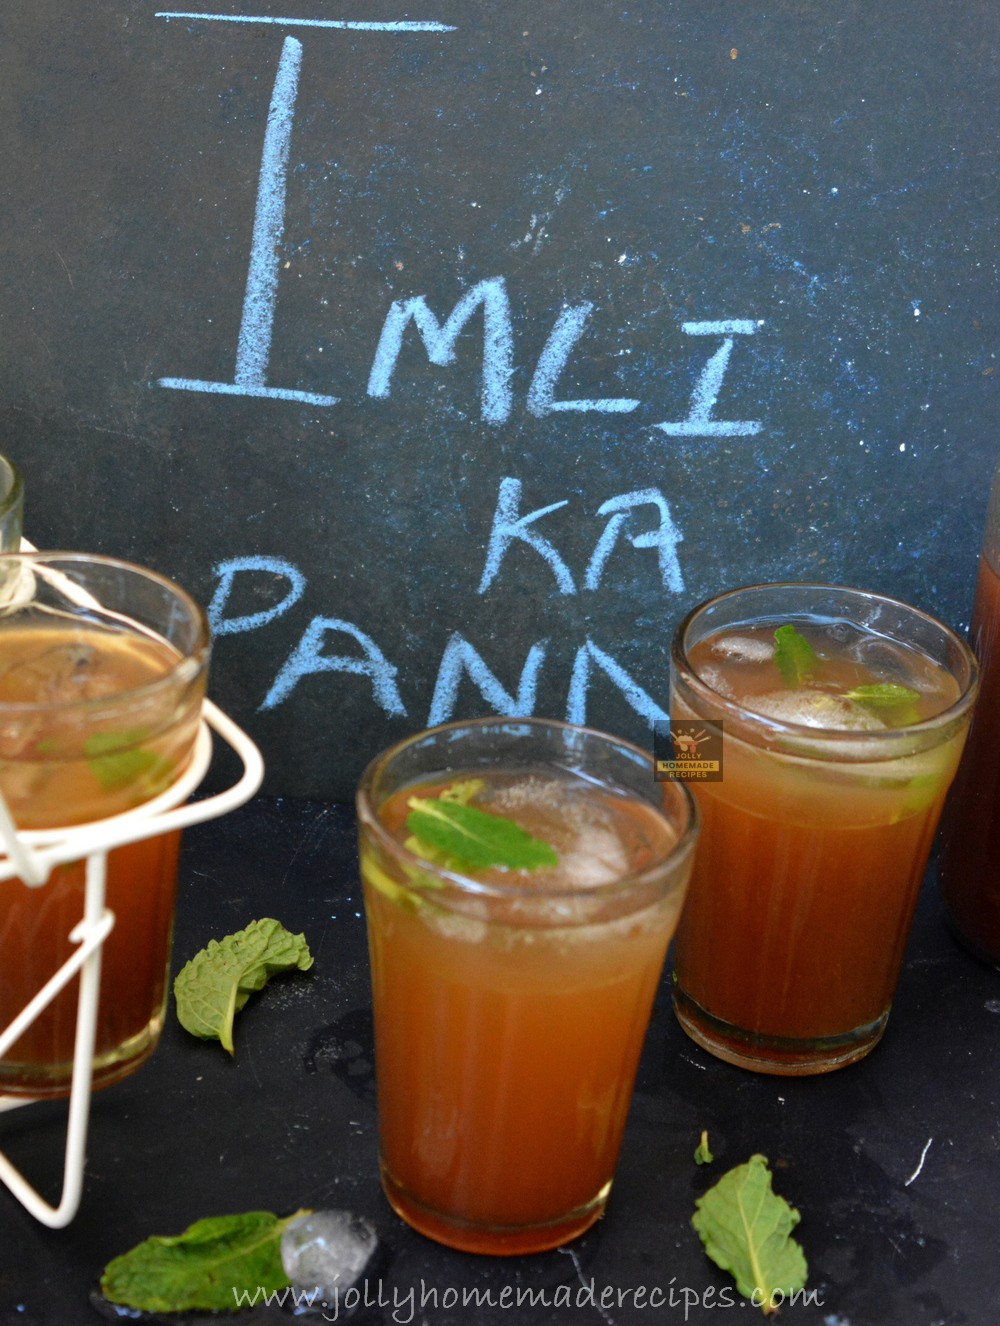
Imli ka Panna is a tangy, sweet & sour refreshing summer cooler made using tamarind pulp & sweetened using sugar and seasoned with few spices. This is similar to traditional Rajasthani beverage “Amlana”.
This drink is so refreshing, absolutely delicious and very healthy drink to cool off during a hot summer. 🌞 From boosting your immunity to keeping your liver and heart safe from diseases, tamarind do your health a world of good.
VIDEO RECIPE OF IMLI KA SHARBAT
Tamarind is rich in fiber and has no fat content. Studies suggest that eating tamarind daily might actually help in weight reduction since it contains flavonoids
Tamarind is a rich source of magnesium, potassium, iron, vitamin B and provides other essential amino acids, antioxidants and vitamin C to the body. It is great for digestion and when combined with sugar & cumin, it acts as a natural coolant in summers.
This is one such refreshing drink which I used to make it on a regular basis in the months of summer. This imli ka panna drink will surely help you make tasty and tantalizing 100% natural drink at home.
Imli ka Panna Preserve
You can make a preserve of Imli ka Panna and use it as when required. Store this focus in refrigerator for 15-20 days. When ready to use, just add 5-6 tbsp of concentrate or adjust according to your taste in serving glasses and top up with ice and water. Add a few mint leaves to give more freshness to the drink.
This Imli Panna recipe is quite simple and does not take much time too. It can be prepared beforehand and stored in fridge. Cumin and cardamom adds an aroma to this drink.
In India, Imli or tamarind are profoundly used in curries and sambar dal. Here are few summer recipes that you might like to try apart from
Course : Summer Drinks(beverages) Preparation Time : 10 minutes Cooking Time : 30 minutes Total Time : 40 minutes Cuisine : North Indian
Author : Jolly Makkar
INGREDIENTS:
Dry Tamarind (Imli) – 1 cup
White Sugar - 1 cup
Water - 6 cups
Black Salt/Kala Namak - 3/4 tsp
Crushed Black Pepper / kali mirch powder – 1/4 tsp
Roasted cumin powder/Bhuna Jeera – 1/2 tbsp
Cardamom powder (Elaichi) - 1/4 tsp
For Servings:
Mint Leaves
Ice Cubes
Water
INstructionS :
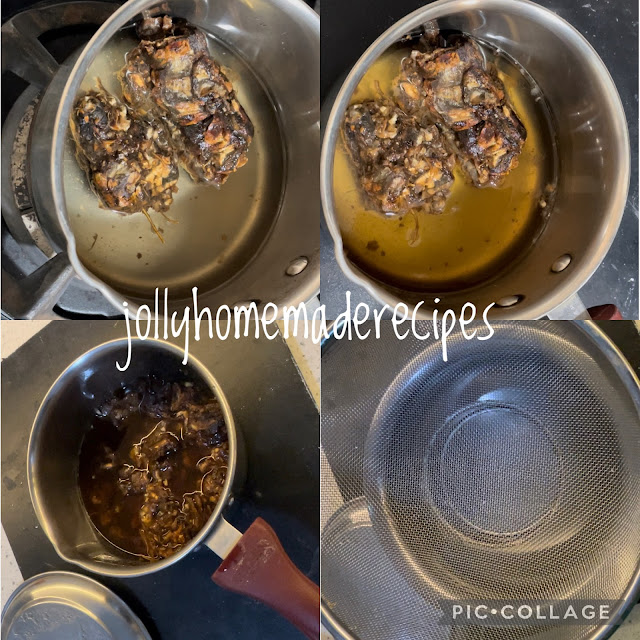
1. Wash the dry tamarind chunks thoroughly. Transfer them in a bowl with 1 cup of hot water to it. Soak it for at least 2-3 hours.
2. Tamarind must have soaked by now and turned soft and mushy. Place a sieve on a bigger bowl and transfer soaked tamarind along with water on it. With the help of spoon keep mashing the tamarind till all its pulp is extracted completely.
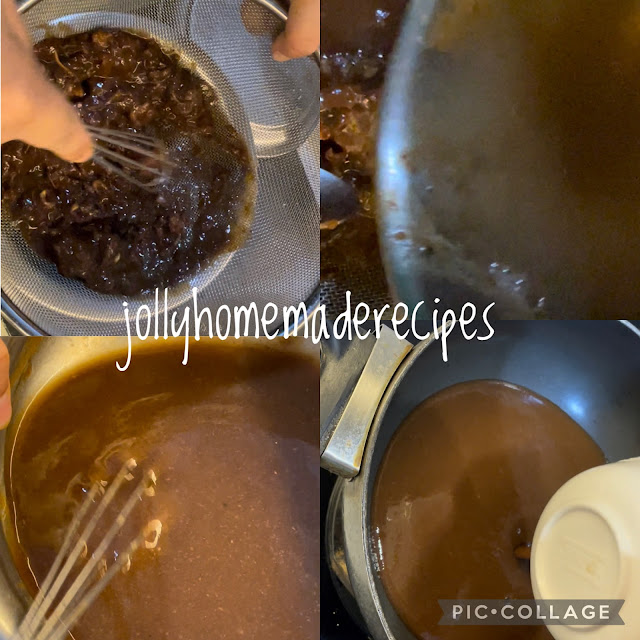
3. In a kadai or heavy bottom pan, add tamarind pulp mine will come almost 2 cups so I added 4 cups of water along with 1 cup of sugar. Simmer it till sugar dissolves and stir continuously for about 20 minutes on full flame.
4. Add black salt, black pepper powder, and roasted cumin powder. Mix well. I would advise to taste panna at this stage and adjust the salt or spices little bit as per your taste if required.
5. Simmer it more 5 to 10 minutes and then lastly add cardamom powder. Cook for another 5 minutes, switch off the flame. Cool it properly and then store the preserved into sterilized bottle. Keep the preservative into fridge.
HOW TO SERVE :
–
Before serving add some Ice cubes in the glass and pour Imli Panna preserve over it, pour water on it(adjust the sweetness nd Garnish with some fresh mint leaves and enjoy this cool refreshing tangy Tamarind cooler🍹. Cheers !
This month letter is I for season 2 A to Z Challenge, I choose IMLI and made this super refreshing and healthy delicious drink
Did you try this recipe? Click a picture and mention @jollyhomemaderecipesor tag #jollyhomemaderecipes in Instagram or Facebook
Subscribe to our YouTube Channel Click here to Subscribeour YouTube Channel and stay updated with our latest video recipes
PIN IT later for your future use
Everyone has a question in their mind that : Is there any difference between Almond Flour and Almond Meal.
And The Answer is YES,
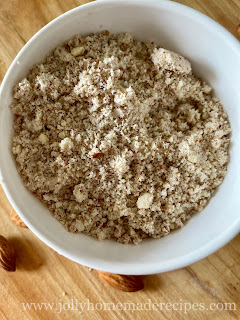
Homemade Almond Meal is incredibly easy and quick to make. All we need is five minutes, almonds, and a blender. Making an almond meal at home is cost-effective as well.
For example, we can use an almond meal instead of breadcrumbs for coating in specific recipes. Or replace some of the flour with almond meal in the baking recipes
What is the Difference Between Almond Meal and Almond Flour?
While almond meal is typically made from raw (unpeeled) almonds, almond flour is made from blanched (peeled) almonds.
Compared to almond meal, almond flour has a finer texture and lighter colour.
When to Use Almond Meal?
Almond meal can typically be used interchangeably in cakes and cookies and they are great gluten-free alternatives to traditional flours.
How to Make Almond Meal
Making homemade almond meal is so easy! It requires just 1 ingredient, 1 blender, and 5 minutes.
This nutrient-rich flour lends itself well to muffins, cookies, crackers, and so much more! We typically like to use a mix of flours in a recipe in order to achieve the ideal texture and flavor — our favorite being almond meal,
I have recently used this almond meal with whole wheat flour into cupcakes and they become super yummy and delicious. Stay tuned for next recipe!!
I have made small batches for this meal, when I wanted to used it in baking. But you can store it for a month, make a big batch and store it. Use it when you required.
important tips while making almond meal
Almonds start to release oil very quickly, so make sure to pause after every few pulses.
The best way is to grind for a few seconds, pause, release ground almond clusters, and continue grinding again for a few seconds.
Make sure not to go too far otherwise almonds will start turning into butter.
You can keep the texture of ground almonds as you desire. Either keep it coarse or go with fine texture.
Prep time : 5 minutes
Total time : 5 minutes
Servings : 1/2 cup
Course Helpful How-to
Cuisine Baking, Gluten-Free, Grain-Free, Vegan
Author : Jolly Makkar
Ingredients:
1/2 cup raw almonds (whole or sliced)
Instructions :
Add almonds to a high speed blender and blend on high until a fine, powdery flour is achieved. We recommend turning the blender on the highest setting for 5-10 seconds. Then stop, shake the blender, and hit the sides to shake loose any clumps that have formed. Blend again until fine and powdery — all in all about 10-15 seconds of blending. You’ll know you’ve gone too far if it starts turning to almond butter or clumping up on the sides.
Transfer to a jar or container and store up to 1 month unrefrigerated, often longer.
Did you try this recipe? Click a picture and mention @jollyhomemaderecipesor tag #jollyhomemaderecipes in Instagram or Twitter
Subscribe to our YouTube Channel Click here to Subscribeour YouTube Channel and stay updated with our latest video recipes
PIN IT later for your future use
HAPPY COOKING & ENJOY 💜💜
Looking for healthy option this weekend? Then this rainbow crunchy vegetable + quinoa salad is the perfect things to make. It’s healthy, filling, flavorful, fresh and really tasty. This recipe is inspired from traditional tabbouleh using quinoa instead of bulgur wheat!
What is tabbouleh?
Tabbouleh is a Middle Eastern salad that’s made with fresh parsley, bulgur wheat, tomatoes, cucumbers, and seasoned with lemon juice and olive oil. Sometimes spelled tabbouleh or tabbouli, it’s a staple in Greek, Lebanese and Syrian cuisine. The fresh brightness of the lemon and parsley are the perfect contrast to more savory and heavy flavors.
Ingredients in quinoa tabbouleh
Using quinoa makes this into a gluten-free salad: and you also get all the nutritional benefits of quinoa. The quinoa cooking process takes just a little longer! But it’s 100% worth the time.
Quinoa
Coriander (that’s right: see below!) [ You can use a combination mint and parsley leaves, I don't have both I use coriander for freshness]
Red Onions [alternate with green onion]
Tomatoes
Cucumber [alternate with English cucumber]
Beetroot
Garlic cloves
Lemon juice
Olive oil
Salt and black pepper
check out the video
Make the quinoa in advance if you have time, I don't I have cooked at the same time. Cook the quinoa and side by side chopped the vegetable and made the salad dressing.
Once its is warm, layered the Quinoa on a wide plate and pop into the fridge for few minutes. But you can cook it while you chop the veggies: but the easiest way to do it is cooking it in advance!
Storage life of Salad
Once you’ve mixed up a batch of this quinoa tabbouleh, you can use it as a healthy side dish for lunch and dinner recipes throughout the week! It stores in fridge for about 2 to 3 days, and holds up pretty well.
Category: Side Dish / Salad
Cuisine: Middle Eastern inspired
Prep Time: 10 minutes
Cook Time: 20 minutes
Servings : 3 to 4 people
Diet: Vegan/Gluten Free
Author : Jolly Makkar
Ingredients :
Quinoa -1/2 cup
Water - 1 cup
Veggies(ur choice)
Small tomato (finely diced) - 1 no
Cucumber (seeded and finely diced) - 1/2
Shredded beetroot - 1/4 cup
Finely chopped red onion - 2 tablespoon (optional)
Herbs & Spices
Fresh coriander leaves (chopped) - 1/2 cup (alternate with mint leaves)
Salt -1/2 teaspoon
Fresh grounded black pepper to taste
Basil flakes - a pinch (optional)
Extra virgin olive oil - 2 tbsp
Garlic cloves- 2 no (crushed & chopped)
Preparation Method :
1. Washing the Quinoa : wash the quinoa under running water, till it looks clean. The wash lastly with drinking water and the cook it.
2. Make the quinoa: Rinse the quinoa using a fine mesh strainer, then drain it completely. Place it in a saucepan with 1 cups water and with a pinch of salt. Bring to a boil, then reduce the heat to low.
3. Cover the pot and simmer where the water is just bubbling for about 10 to 12 minutes, or as per the instruction mentioned on quinoa packet or until the water has been completely absorbed. (Check by pulling back the quinoa with a fork to see if water remains.) Turn off the heat and let sit with the lid on to steam for 5 minutes, then fluff the quinoa with a fork.
4. Cool the quinoa to room temperature: To do this quickly, Once its is warm, layered the Quinoa on a wide plate and pop into the fridge for few minutes. Or, you can make the quinoa in advance and let it sit at room temp or refrigerate until serving.
5. Chop the vegetables: Chop the cucumber and tomato. Thinly slice the red onions. Thinly shredded the beetroot(you can use end number of veggies in it, I have taken those which I generally enjoyed into my salads or available into my pantry)
6. Add the dressing: Crushed and chopped garlic(you can use garlic oil), Juice the lemon, a pinch of basil and whisk it together with the olive oil. Sieve it later, my husband don't like raw garlic so I sieved it before adding into it.
7. In a large bowl, toss the quinoa and vegetables with the dressing, salt and pepper. Taste and adjust flavors as necessary. Serve immediately or refrigerate for 2 to 3 days.
This recipe is a part of A to Z recipe challenge, we choose key ingredients alphabetically to cook and post a dish every month. This month it was alphabet time "Q" so I choose my key ingredients QUINOA and make this easy and Refreshing Quinoa Tabbouleh Salad
Additional Notes**
1. Generally storage life of quinoa salad is 3 to 4 days but I have used red onions, so it work good in fridge for 2 days because onion release water. You can opt out the onions also, I have added for the crunch.
2. You can use any veggies of your choice, bell peppers, boiled chickpeas, boiled corn, red beans, anything which you love in your salads.
3. This is naturally Vegan salad and also a nut free, soy free, and low sugar salad.
Did you try this recipe? Click a picture and mention @jollyhomemaderecipesor tag #jollyhomemaderecipes in Instagram or Twitter
Subscribe to our YouTube Channel Click here to Subscribeour YouTube Channel and stay updated with our latest video recipes
PIN IT later for your future use
Happy Cooking & Enjoy 💙💙
This Watermelon Granita is deliciously refreshing and perfect for all your summer parties. This is the perfect treat for elders and kids during this lock-down time, because its homemade and no preservatives. It’s actually quite easy and simple to make but ya it takes some time to make. Always be a crowd pleaser!
What is Granita?
Granita is the sophisticated, well-traveled older sister of slush and shaved ice. But don’t worry, granita making is not that complicated. No special tools needed to make granita!
What could be more perfect in the heat of the summer than a simple 3 ingredient watermelon granita?
Here’s the best part — not only is it easy to throw together, but you don’t have to have any kind of special ice cream maker or churn for this recipe! All you need are three simple ingredients, a blender, and a freezer.
This is one of the most refreshing things you can treat yourself to on a long hot day.
Let the good times roll! It’s summer. The weekends are lazy and relaxed. And, the watermelon is sweet.
The basic recipe has just 3 ingredients and the PERFECT recipe for any age to enjoy making. It doesn’t require an ice cream maker. Just a blender, fork and a little patience while it freezes.
You combine your ingredients, pour them into a 9×13 baking pan and off to the freezer it goes. Every hour for approximately 3 – 4 hours you simply remove the pan from the freezer and scrape the mixture with a fork.
When you get to the part that’s not quite frozen yet, place the dish back in the freezer for another hour. Continue the scraping process until the entire mixture has been scraped.
Every season I made this frozen treat for my family and enjoy it many days. Last year I have made watermelon popsicle and cantaloupe granita with different style, you must check it that one. This year I made granita with watermelon, the colour of granita is so beautiful.
Healthy benefits of Eating Watermelon
Watermelon is a delicious and refreshing fruit that's also good for you. The green outer rind is hard and fleshy, and rarely eaten, while the interior is soft, red or pink flesh containing many seeds; this is the part of watermelon which is typically eaten. The healthy or beneficial effects of watermelon are mainly derived from its unique nutrients, vitamins, minerals, and organic compounds.
1. Watermelons contain a lot of potassium, which is very helpful in cleaning out the toxic depositions in the kidney.
2. It also helps hydrate your body during the hot summer.
3. The high amount of water in watermelons also stimulates a release of excess liquid in the form of sweat, which cools your body further during hot summer days.
4. Watermelon is made up of 92% water and is effective in reducing both your body temperature and blood pressure.
Prep Time : 5 minutes
Freezing Time : 4 to 5 hrs or Overnight for best results
Course: Dessert / Frozen Treat
Cuisine: International
Serves: 3
Author : Jolly Makkar
Ingredients :
Watermelon chopped – 4 cups
Sugar – 1/4 cup
Lemon juice – 1 tablespoon
mint leaves few for garnish
Preparation Method :
1. Place everything in a blender/mixer grinder and blend until smooth.
2. Pour liquid mixture into a freezer safe pan*.
3. Freeze for 30 minutes. Remove from freezer and use a fork to stir up icy liquid.
4. Freeze for an hour and again take it out, wipe the sides inside the box especially corners, that would have started to freeze. Repeat once again after an hour.
5. Wrap up the tin with cling wrap, again freeze it overnight or minimum 6 hours, and use a fork to scrap the frozen mixture.
6. Serve immediately, or cover and enjoy later. Garnish with fresh mint leaves.
Imp Notes**
Don't open you freezer, while freezing..so it will not set properly.
Granita is supposed to be grainy, so make sure you scrap with fork and there should not be any lumps too.
You can use any freezer safe dish for granita. I used a metal bread loaf pan because it fits nicely in my freezer. You can use casserole dishes, baking pans, or pie tins.
Check out more awesome cool recipes during this summer time and lock-down period :
Facebook | | Pinterest | Twitter | Instagram Hope you like the recipe, please share your feedback into comments section or If you tried, please drop your yummy creations on my mail id jollyhomemaderecipes@gmail.com OR Tag us @jollyhomemaderecipes or use#jollyhomemaderecipes
PIN ITLater for future use
Cheers and Enjoy with Your Family 😍😍
Shahi Phirni with detailed recipe step by step picture. It is a royal treat prepared with milk, saffron, rose water and rice. Shahi Phirni is an typical Indian sweet which is made in North India on major occasions, such as Karwa Chauth, Diwali, any pooja at home, get together and so on.
I also like saffron in my most of the desserts recipe, here I also used with very small amount, for the distinct colour and flavour which gives to this phirni. It is not so dark yellow but mild yellow in colour and it absolutely looks tempting.
Summer is the good time of enjoying chilled desserts after meals. May be you are short of time at the end of a long day but this sweet dish will compel you to spend some time in kitchen to enjoy a delicious treat that will cool you down and make you feel rejuvenated. You can prepare it and refrigerate for two to three days.
What is Shahi Phirni?
Shahi is a hindi word actually it means "Royal" and Phirni is a milk based sweet delicacy that is made with coarsely ground rice and lots of dry fruits. Saffron and rose water are added to enhance the flavour. The texture is extremely creamy-rich. This milk dessert owes its origin to the Mughlai cuisine. Though this royal sweet dish is served and loved in almost all parts of India, it is a famous delicacy and specialty of Punjab region.
When you visit this region, you will see from every roadside dhaba to big and famous restaurants serving this dish with great pride. I remember when we go to my relative place, we definitely stop the dhaba for tasting their food, they have such yummy food always. The phirni is fixed dessert in their menu and that we will get in all seasons.
Before march end I want to share a news with you that my baby blog turns 6th , I can't believe it's been many years since I started my little foodie blog, and I really never expected it to come this far or even be successful at all!💕💕
So I just wanted to say a huge, massive thank you to everybody who has ever taken the time to read, share, like or comment on my blog. This blog really means a lot to me, and it’s helped give me the confidence to keep writing and get where I am today!
March month is very good and lucky month for me always, I've started my blog in March 2014, my son was born is march 2017 and my birthday month is also march, isn't so cool 😊 So march always been lucky month for me 💓 Hua na perfect festive season month. So for this celebration, sweet to banta hai yaaro. This time I made "Shahi Phirni" and enjoy with my family.
I know its been a tough time going on in whole world bcoz of #coronavirus. In India, we also got lock-down. But no worries this lock-down is good for us, Guys I request to everyone to stay at home, to fight against virus. Still no country not found any solution, or vaccination against this virus. I always pray to God that please released us from this virus👏👏
Shahi phirni is similar to the basic Indian kheer. The difference is only that in kheer whole rice is used but in phirni crushed rice is used. The shahi dish is best served after a lavish meal. It has a cooling effect on the stomach and the rest of the body which is helpful especially in summer when we feel really hot due to the subtle energy that controls metabolism.
Phirni can be served hot or chilled. But its actual taste can be relished only when it is served chilled in a clay pot or an earthen bowl. Clay pot infuses it with the earthy flavour and it also gives an authentic feel. However, you can use your regular serving bowls too.
Enjoy this festive Indian dessert infused with delicate flavours, dry fruits and rose water. Try making it in your own kitchen and give a sweet surprise to your family with your culinary skills.
Course: Dessert Cuisine: Indian (Mughlai) Total time : 1 hours 30 minutes Preparation time: 30 minutes Cooking time: 60 minutes Serves: 4-6 person Author : Jolly Makkar
Ingredients
Full cream milk: 1 litre
Basmati rice: 2 tablespoon
Rose water: 1 tsp
Saffron strands: 10-12 strands
Sugar: 1/4 cup
Almonds: 10 to 12
Raisins: 20
Preparation Method
1. Wash rice and soak in water for an hour. After an hour drain the water and coarsely grind the soaked rice in a food processor to turn it into a grainy consistency. Soak almonds for three to four hours. Peel and chop them.
2. Take a thick bottom deep pan. Add milk to it and give a boil. Once the milk comes to a boil, simmer the heat. Add ground rice. Soak saffron strands in 2 tablespoon of milk in a small bowl.
3. Keep stirring in between. It will take 45 minutes to an hour for the phirni to thicken. Scrap all cream from the sides. It will become almost half in quantity.
4. Then add rose water, soaked and crushed saffron strands and sugar. Mix well stirring it. Cook for another 15 to 20 minutes. Turn off the flame.
5. Add chopped almonds, raisins and mix well. Turn it to a big bowl and let it cool at room temperature.
6. Keep in mind that phirni will thicken some more once cooled. Transfer the phirni in pots and chill in refrigerator.
7. Once it cools down, transfer it into small clay bowls and let it set for half an hour.
Tips to make perfect phirni
Use only full cream milk to give the phirni a perfect creamy texture.
Use only basmati rice to give the dish the perfect royal flavour.
Add rose water and saffron strands of high-quality to give the phirni a tempting natural aroma.
Cook the dessert in a heavy bottom pan.
Keep the rice mixture a bit grainy, because after cooling it becomes thick
Add raisins and almonds while cooking the dessert to take the sweet dish to another level of deliciousness.
If you are looking for more easy sweets recipes then do check